Newsletter Subscribe
Enter your email address below and subscribe to our newsletter


Raised Bed Gardening Made Simple
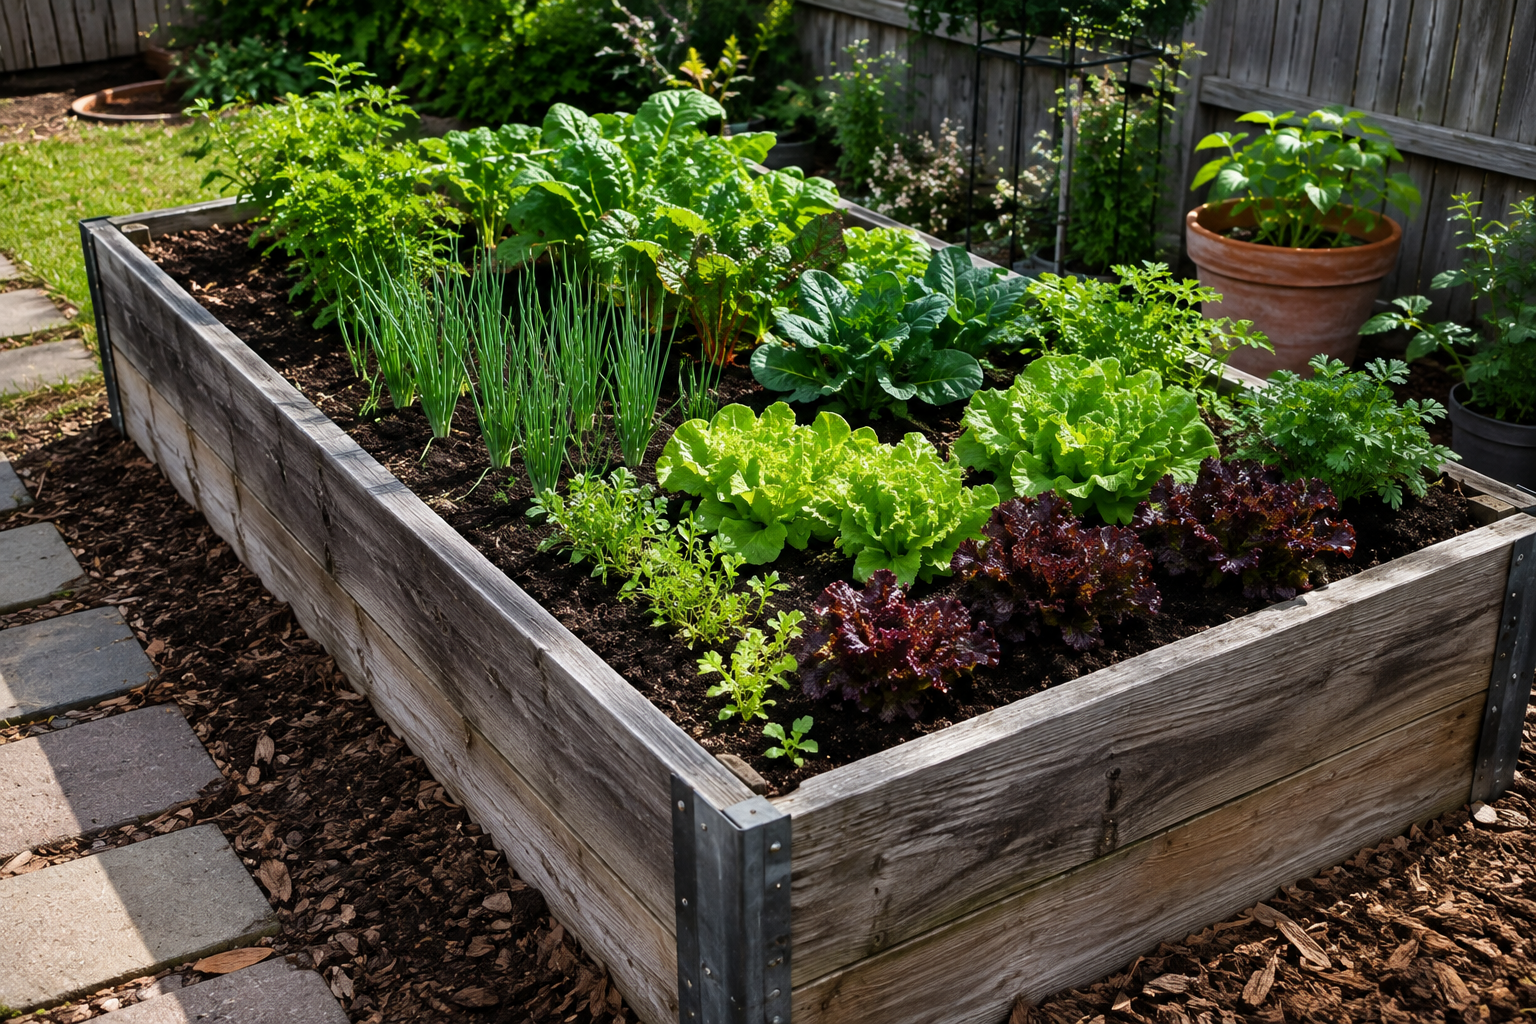
Raised garden beds can remain productive for many years, but they rarely stay in perfect condition without some maintenance. After several growing seasons, soil levels may drop, wooden boards may begin to deteriorate, nutrients can become depleted, and the bed may simply stop producing vegetables as well as it once did.
Fortunately, an aging raised bed usually does not need to be completely rebuilt.
With a careful inspection and a few targeted improvements, you can restore an older bed and prepare it for another productive growing season. Here is how to refresh an old raised garden bed without starting over.
Begin by clearing the bed of anything left from the previous growing season.
Remove dead vegetable plants, old stems, fallen fruit, damaged leaves, plant supports, labels, and other garden debris.
Healthy plant material can often be composted. However, plants that showed signs of serious disease or pest infestation are better kept out of compost that will eventually return to the garden.
While clearing the bed, remove large roots from previous crops if they interfere with planting. Small roots can usually remain in the soil and decompose naturally.
The goal is to create a clean surface so you can properly evaluate the condition of the bed.
Before improving the soil, examine the actual structure.
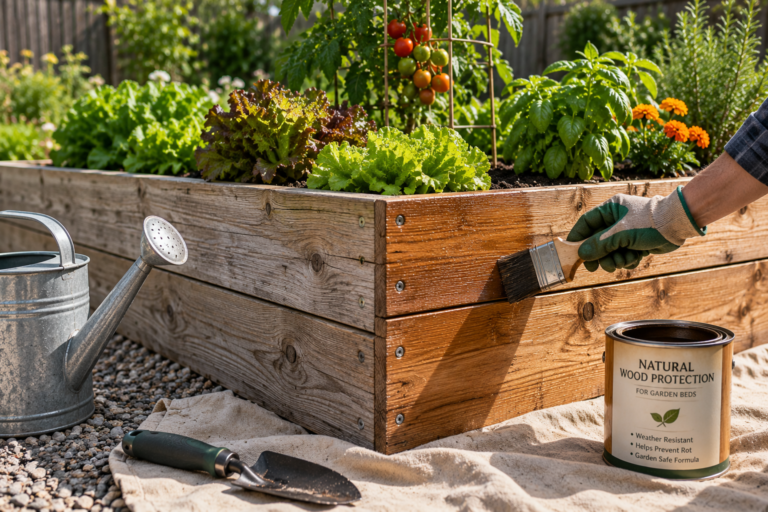
For wooden beds, check the corners, fasteners, and lower sections of the boards where moisture is most likely to cause deterioration.
Look for:
Metal raised beds should be checked for loose connections, damaged edges, or areas where the structure has shifted.
Small repairs are much easier to make before the bed is full of actively growing vegetables.
If one wooden board is badly deteriorated, replacing that individual piece may be enough. There is usually no reason to rebuild the entire bed when most of the structure remains sound.
It is normal for soil levels in raised beds to decrease over time.
Organic materials gradually decompose, soil particles settle, and some material is removed whenever plants are harvested.
Compare the current soil level with the top of the frame.
If the bed has lost several inches of volume, simply loosening the existing soil will not solve the problem. Additional material will be necessary.
However, avoid filling the entire missing volume with only one material. A balanced combination of soil and mature organic matter usually provides better long-term growing conditions.
Old raised bed soil does not automatically need to be replaced.
Instead, look at its current condition.
Take a handful and observe the texture. Does it crumble easily, or has it become hard and compacted? Does water soak into it normally, or sit on the surface?
Healthy garden soil should generally feel loose enough for roots to penetrate while still retaining some moisture.
If the soil is compacted, gently loosen the upper layers with a garden fork. Avoid repeatedly pulverizing the soil into a very fine texture.
The goal is to improve structure without unnecessarily disturbing the entire bed.
One of the easiest ways to revive an older raised bed is to add mature compost.
Spread approximately 1 to 2 inches of finished compost over the surface.
Compost contributes organic matter and supports better soil structure while gradually supplying nutrients to future crops.
You do not necessarily need to dig it deeply into the bed. It can be lightly incorporated into the upper soil layer or left near the surface, depending on how you plan to plant.
This simple annual addition can help maintain raised bed soil over many seasons.
If the soil level has dropped significantly, compost alone may not provide enough volume.
Add fresh garden soil or an appropriate raised-bed soil mixture until the bed returns to a practical planting depth.
Leave a little space below the top edge rather than filling the bed completely to the rim.
This helps prevent soil and water from spilling over the sides.
Mix the new material gently with the upper portion of the existing soil so that there is not a sharp boundary between old and new layers.
Refreshing an old bed is also an opportunity to reconsider your planting plan.
Growing the same type of crop in the same location year after year can create nutrient imbalances and may increase certain pest or disease pressures.
If tomatoes dominated the bed last season, consider using part of the space for leafy vegetables, beans, herbs, or root crops.
You do not need an overly complicated crop rotation system for a small backyard garden.
Even simple changes in plant families can make better use of the available growing space.
Raised garden beds often accumulate accessories over time.
Inspect trellises, stakes, irrigation lines, netting supports, and other structures before planting begins.
Replace broken ties and unstable stakes.
If you use drip irrigation or soaker hoses, check for damaged sections and blocked emitters before plants are established.
It is much easier to reorganize these systems while the bed is relatively empty.
Once repairs and soil improvements are complete, gently rake the surface.
You do not need to make it perfectly flat, but removing deep depressions can help prevent water from collecting unevenly.
This is also a good time to create planting rows or mark sections for different vegetables.
If you are transplanting seedlings, wait until the soil conditions and local temperatures are appropriate for the crops you plan to grow.
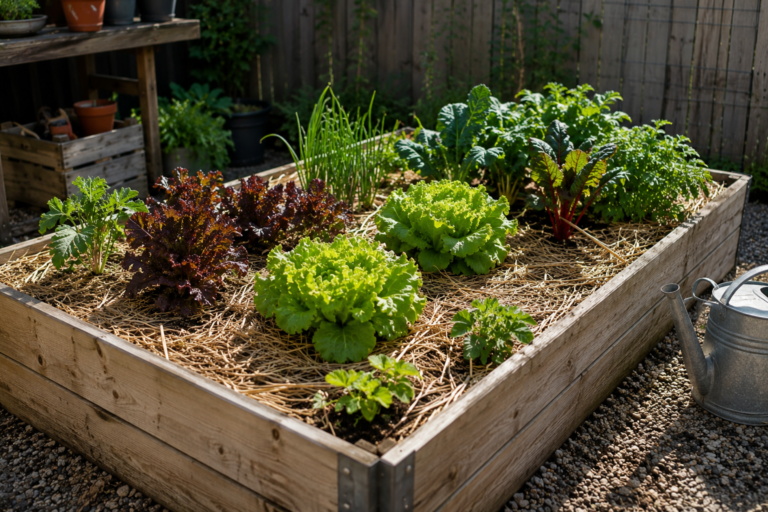
After seedlings are established, cover exposed soil with an appropriate organic mulch.
Materials such as clean straw or shredded leaves can help reduce evaporation, moderate soil temperature, and limit the amount of bare soil exposed to weed seeds.
Keep mulch slightly away from the stems of young plants rather than piling it directly against them.
As the mulch decomposes, it also contributes additional organic material to the bed.
Refreshing works well when the basic structure is still stable.
However, replacement may be more practical when multiple boards are severely rotten, the frame is collapsing, fasteners can no longer hold the structure together, or the bed has shifted significantly.
In these situations, you may be able to reuse much of the existing soil while replacing only the surrounding frame.
This is often less expensive and less wasteful than discarding everything and beginning from scratch.
Learning how to refresh an old raised garden bed is mostly about identifying what actually needs improvement rather than replacing everything.
Start by clearing the bed and inspecting the frame. Repair damaged sections, evaluate the existing soil, restore lost volume, and add mature compost to support another growing season.
At the same time, check irrigation equipment, trellises, and your planting plan.
A raised bed that looks tired after several years may still have plenty of useful life left. With occasional repairs and regular additions of organic matter, a well-built raised garden bed can continue producing vegetables, herbs, and flowers season after season.