Newsletter Subscribe
Enter your email address below and subscribe to our newsletter


Raised Bed Gardening Made Simple
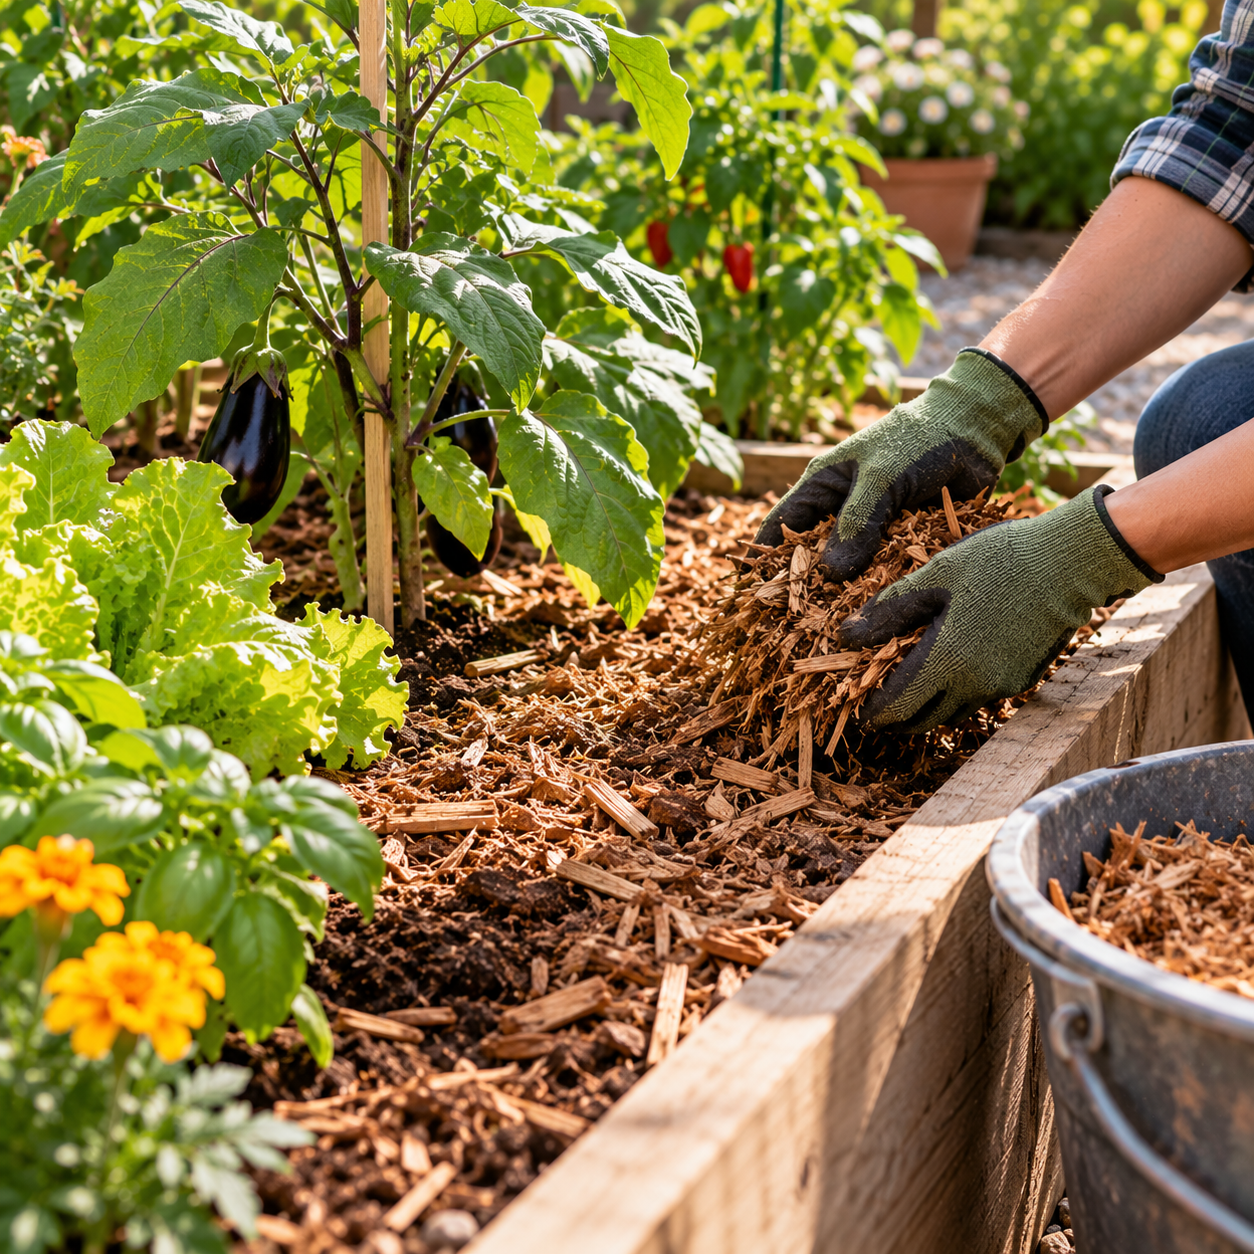
Mulching is one of the simplest ways to protect the soil in a raised garden bed. A well-applied layer of mulch helps retain moisture, reduce weed growth, moderate soil temperature, and protect the soil surface from heavy rain.
However, using the wrong material or applying mulch too thickly can create problems for vegetables. Some materials may restrict water movement, while mulch piled against plant stems can encourage excess moisture around sensitive areas.
The key is choosing a suitable material and applying it at the right depth.
Here’s how to mulch a raised garden bed properly, whether you’re growing tomatoes, peppers, lettuce, or other backyard vegetables.
Raised garden beds often have exposed soil surfaces that receive direct sunlight and wind.
During warm weather, moisture can evaporate quickly, especially in beds containing fast-draining growing mixes.
Mulch creates a protective layer over the soil, slowing evaporation and helping maintain more consistent moisture conditions.
It also reduces the amount of sunlight reaching weed seeds, which can limit weed germination.
Organic mulches gradually break down and contribute organic matter to the soil.
However, mulch doesn’t eliminate the need for proper watering, fertilization, or regular garden maintenance.
Different mulch materials offer different benefits.
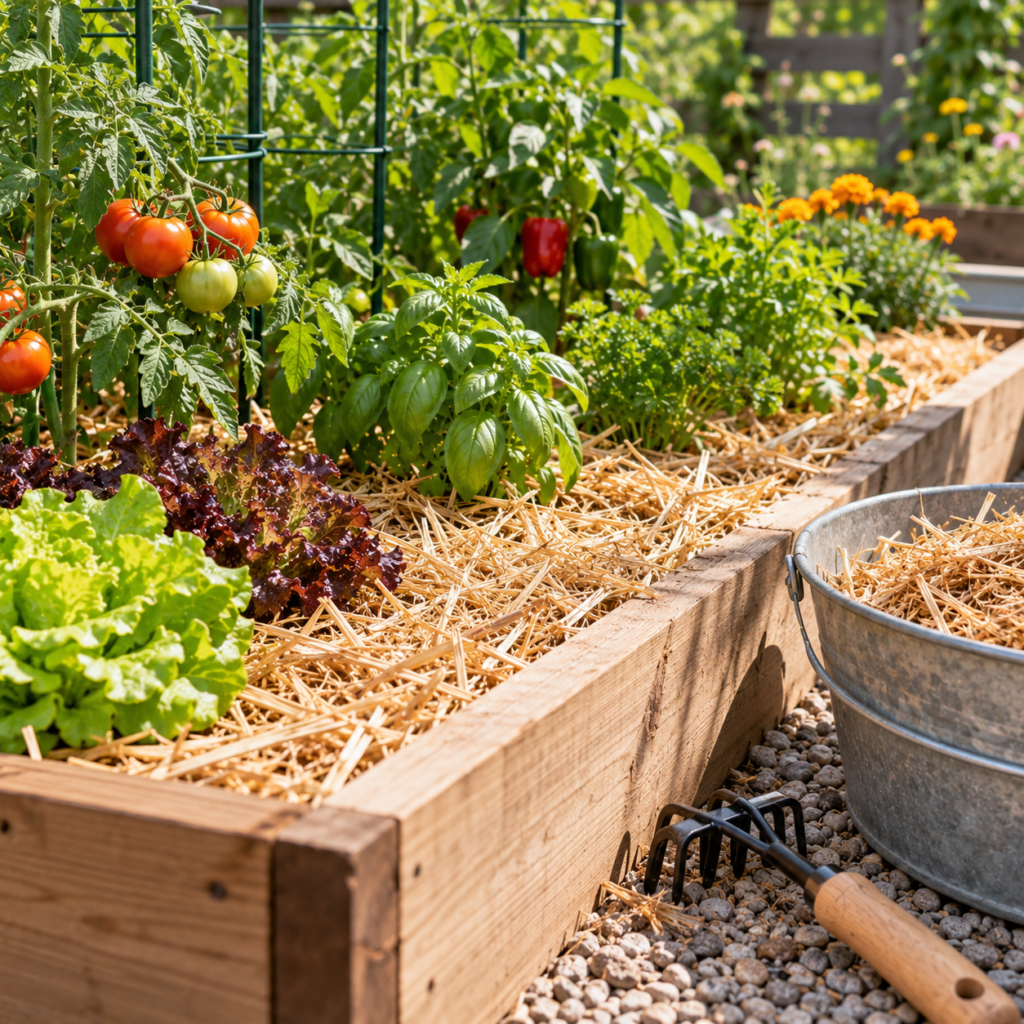
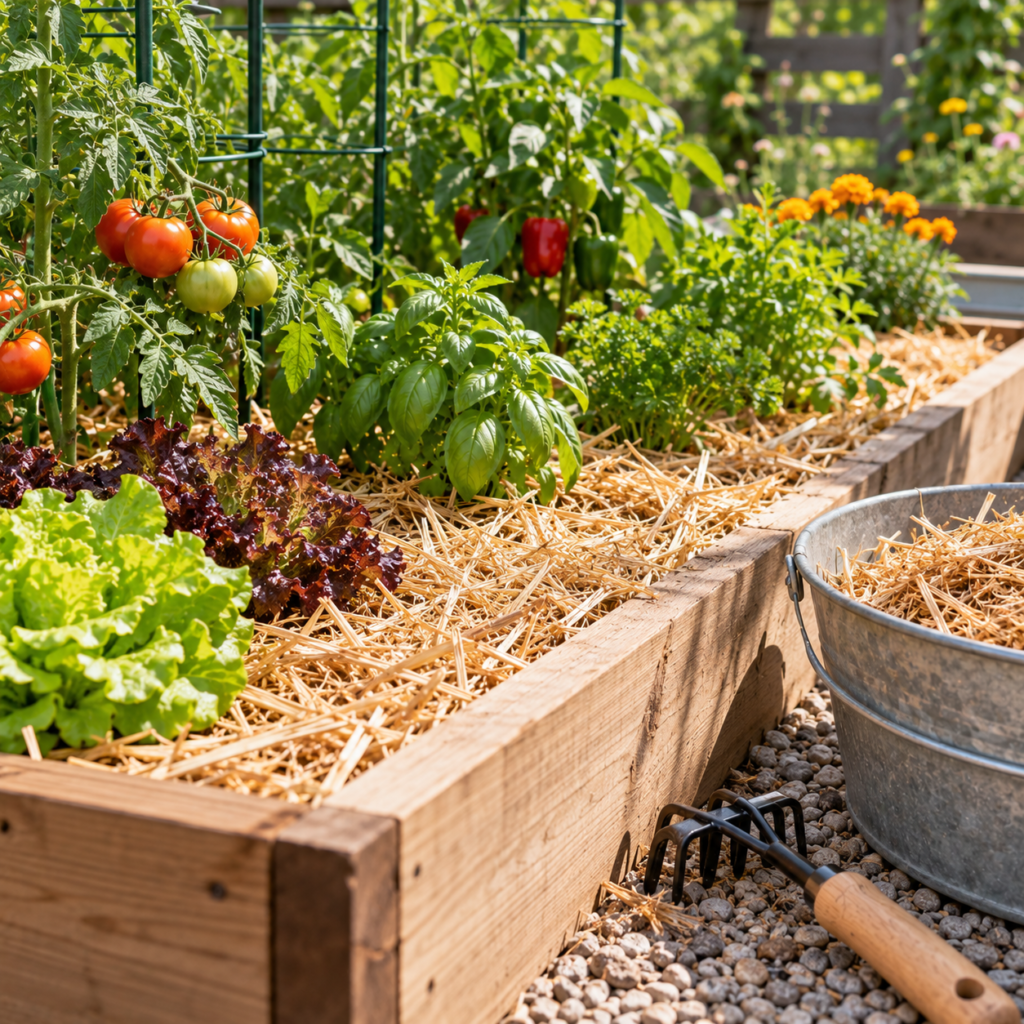
Clean straw is popular in vegetable gardens because it’s lightweight and relatively easy to spread around plants.
Shredded leaves are another useful option, especially when collected from healthy trees.
Untreated wood chips can work well in some situations, particularly around perennial plants and pathways, although coarse chips may be less convenient around small vegetable seedlings.
Grass clippings can also be used if they’re free from herbicide contamination and applied in thin, dry layers.
Avoid materials of unknown origin or those that may contain persistent herbicide residues.
| Mulch Material | Main Benefits | Potential Drawbacks | Best Use |
|---|---|---|---|
| Clean straw | Retains moisture and protects soil | May contain weed seeds | Established vegetables |
| Shredded leaves | Adds organic matter over time | Can mat together when wet | Seasonal vegetable beds |
| Untreated wood chips | Long-lasting surface protection | Coarse around seedlings | Perennials and pathways |
| Dried grass clippings | Readily available | Can mat if applied too thickly | Thin layers around vegetables |
| Pine needles | Lightweight and slow to decompose | May shift in windy conditions | Established plants |
| Compost | Adds organic matter and nutrients | Less effective at suppressing weeds | Soil top-dressing |
For most established vegetable beds, clean straw or shredded leaves are practical starting options.
Before spreading mulch, remove existing weeds and unwanted debris.
Check the soil moisture and water the bed if the root zone is dry.
Mulch helps conserve existing moisture, but it doesn’t replace the need for watering.
Inspect the base of each plant and remove damaged leaves resting on the soil when appropriate.
If you recently added compost, you can apply mulch over the soil surface after completing the amendment.
For more information about soil improvements, read our guide on how to add compost to an established raised garden bed.
A layer approximately 2–3 inches deep is a common starting point for many loose organic mulches around established vegetables.
However, the appropriate depth depends on the material.
Fine materials that compact easily may require thinner applications, while loose straw can settle after watering.
Avoid covering newly emerging seedlings with thick mulch.
Leave a small gap around plant stems and crowns to prevent prolonged moisture contact.
The goal is to cover exposed soil without burying growing plants.
Use your hands or a small garden rake to distribute mulch between plants.
Start along the open soil areas and work toward the stems, leaving a little space around each plant.
For tomatoes and peppers, spread mulch around the surrounding soil while keeping it away from the main stems.
For lettuce and other low-growing crops, use a lighter layer where necessary to avoid covering the leaves.
Don’t force mulch underneath dense foliage if doing so could damage plants.
An even layer provides more consistent soil protection than thick piles scattered throughout the bed.
After applying mulch, check whether water can reach the soil beneath it.
Water slowly enough to avoid washing lightweight materials out of the bed.
Drip irrigation and soaker hoses can be useful because they deliver moisture near the root zone.
When using overhead watering, check beneath the mulch afterward to confirm that the soil is actually moist.
Mulch may reduce watering frequency, but plant water needs still change with temperature, rainfall, and growth stage.
For additional watering guidance, explore our article on how often you should water a raised garden bed.
Mulching requirements change throughout the year.
Spring: Allow cold soil to warm before applying thick mulch around warm-season vegetables.
Summer: Maintain appropriate mulch coverage to reduce moisture loss and protect soil from extreme heat.
Fall: Replenish organic mulch where needed and remove material affected by serious plant diseases.
Winter: Suitable mulch can help protect soil surfaces from erosion and temperature fluctuations.
Always consider your local climate and the vegetables you’re growing.
Organic mulch gradually decomposes, shifts during watering, or becomes thinner over time.
Inspect the layer every few weeks and add more material only where necessary.
Remove weeds that grow through the mulch before they become established.
If the mulch develops an unpleasant smell, becomes excessively compacted, or prevents water from reaching the soil, loosen or replace the affected material.
Avoid continually adding fresh layers without checking the total depth.
One common mistake is piling mulch directly against vegetable stems.
Another is applying thick layers over newly planted seeds, preventing seedlings from emerging.
Using contaminated grass clippings or unknown materials can also introduce unwanted chemicals.
Finally, don’t assume that mulch alone will prevent every weed.
For a more complete approach to weed prevention, read our guide on how to keep weeds out of raised garden beds.
Mulching a raised garden bed properly doesn’t require expensive materials or complicated equipment.
Choose clean, suitable mulch, prepare the soil, apply an appropriate layer, and leave space around plant stems.
Check moisture beneath the mulch regularly and adjust coverage as the season changes.
With consistent care, mulch can help protect your raised bed soil and create more stable growing conditions for vegetables throughout the season.