Newsletter Subscribe
Enter your email address below and subscribe to our newsletter


Raised Bed Gardening Made Simple
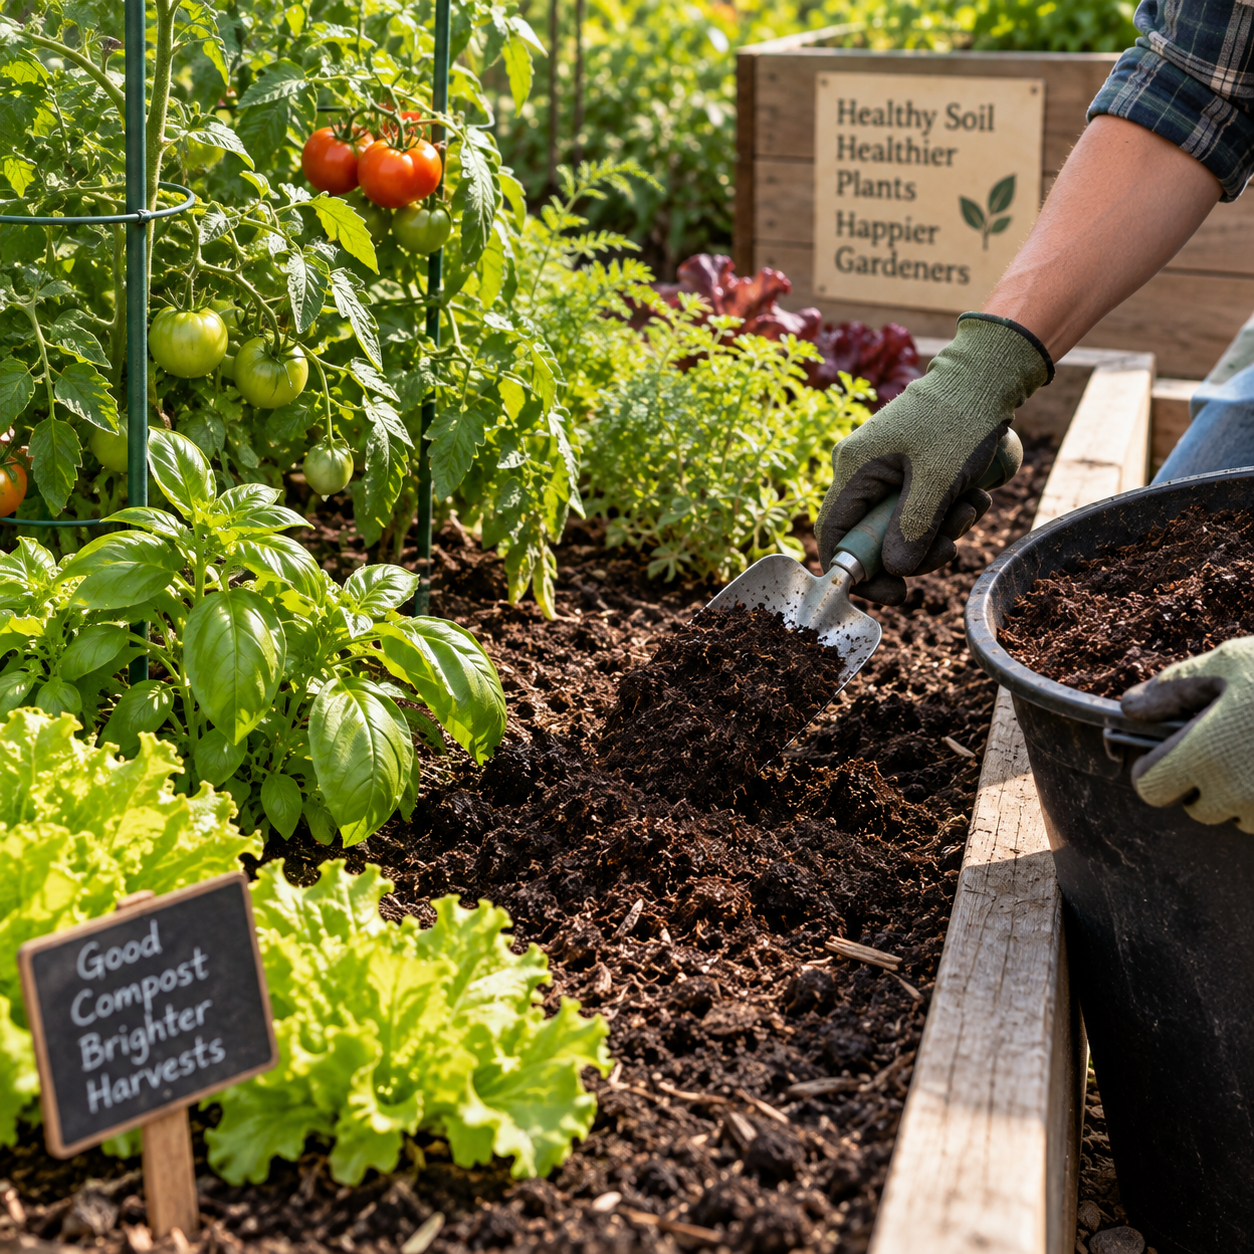
An established raised garden bed doesn’t need to be emptied every time the soil needs improvement. If your vegetables are already growing, you can often add compost directly to the soil surface without disturbing their roots.
This simple method, known as top-dressing, helps replenish organic matter and can improve soil structure over time. It also provides a practical way to maintain raised beds between planting seasons.
However, adding more compost isn’t always better. The type of compost, application depth, and timing all matter.
Here’s how to add compost to an existing raised garden bed safely and effectively.
Vegetables use nutrients as they grow, while organic matter gradually decomposes.
Over several growing seasons, raised bed soil may settle and become less favorable for healthy root development.
Finished compost can contribute organic matter, improve soil structure, and support soil organisms.
It may also supply nutrients, although the amount varies considerably depending on the compost materials and how they were processed.
Compost is not a complete substitute for soil testing or appropriate fertilization.
For gardeners maintaining an existing bed, surface application is often easier than digging compost throughout the growing area.
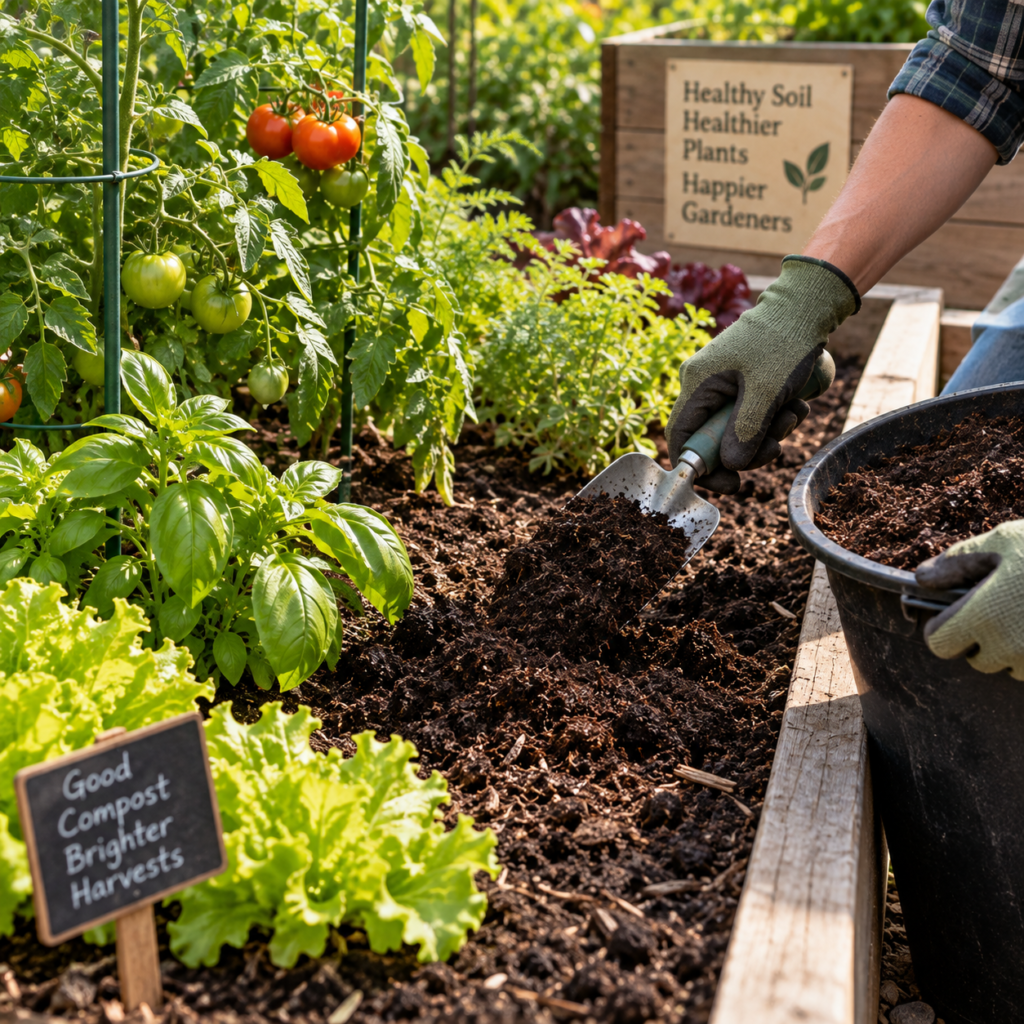
The first step is selecting compost that is ready to use.
Mature compost generally has a dark, crumbly appearance and an earthy smell. Most original ingredients should no longer be easily recognizable.
Avoid adding fresh manure or unfinished compost directly around growing vegetables.
Unfinished materials may temporarily affect nitrogen availability, generate heat, or introduce other problems.
If purchasing bagged compost, choose a product intended for vegetable gardening and follow its application recommendations.
Compost quality varies, so avoid assuming every dark-colored product has the same nutrient content.
For routine maintenance, a thin surface layer is usually sufficient.
A layer approximately ½–1 inch deep is a reasonable starting point for many established raised beds, although the appropriate amount depends on soil conditions and compost composition.
Avoid repeatedly adding thick layers without checking soil fertility.
Some composts contain substantial amounts of phosphorus or soluble salts, which can accumulate with excessive application.
If you’ve already added compost recently, you may not need another application.
| Method | Best Time | Main Advantage | Important Consideration |
|---|---|---|---|
| Surface top-dressing | During active growth | Minimal root disturbance | Keep compost away from stems |
| Light incorporation | Before planting | Mixes compost into upper soil | Avoid damaging roots |
| Between-crop application | After harvest | Easy access to exposed soil | Check nutrient needs |
| Compost as a soil amendment | During bed preparation | Improves soil structure | Avoid excessive application |
| Compost under mulch | During growing season | Protects soil surface | Use mature compost |
For most planted raised beds, surface top-dressing is the simplest approach.
Before applying compost, remove weeds, fallen leaves, and unnecessary debris.
If the bed already has mulch, gently move it aside so compost can reach the soil surface.
Avoid digging deeply around established vegetables.
Roots often extend well beyond the visible stems, and unnecessary cultivation can damage them.
If the soil is extremely dry, water lightly before adding compost.
This can make the surface easier to work with and help maintain suitable moisture conditions.
Use a small garden scoop or your hands to distribute finished compost evenly over exposed soil.
Apply a thin layer between plants, working carefully around roots and stems.
Leave a small gap around the base of each vegetable rather than piling compost directly against the stem.
For large plants such as tomatoes or peppers, spread compost across accessible soil areas without disturbing established roots.
Do not bury lower leaves or the crowns of plants that are sensitive to being covered.
The goal is to improve the soil gradually, not cover the plants themselves.
When vegetables are already growing, deep mixing is usually unnecessary.
Earthworms, soil organisms, watering, and natural decomposition gradually help incorporate surface organic matter.
If you’re preparing an empty raised bed, lightly mixing mature compost into the upper soil may be appropriate.
However, avoid turning the entire bed simply to add compost.
For additional soil management advice, see our guide on when to replace soil in a raised garden bed.
After top-dressing, water gently to settle the compost against the soil surface.
Avoid using a powerful stream that could wash the material away.
A watering can with a fine rose attachment, drip irrigation, or a gentle hose setting works well.
The soil should become evenly moist without remaining waterlogged.
If you previously moved mulch aside, return it after watering, keeping it away from plant stems.
Mulch can help reduce moisture loss and protect the newly amended soil.
Compost can be added at several points during the gardening year.
Early Spring: Apply mature compost before planting or around established perennial crops where appropriate.
During the Growing Season: Use light top-dressing when soil conditions justify it.
After Harvest: Add compost to empty beds before the next planting, taking existing nutrient levels into account.
Fall: Apply suitable organic amendments as part of seasonal soil maintenance.
The best timing depends on your climate, crops, and soil fertility.
Adding compost incorrectly can create unnecessary problems.
Common mistakes include applying unfinished compost, burying plant stems, disturbing roots, and adding excessive amounts every season.
Another mistake is treating compost as a guaranteed solution for poor plant growth.
Yellowing leaves or slow development may result from watering problems, pests, disease, incorrect pH, or nutrient imbalances.
When problems persist, soil testing is often more useful than repeatedly adding amendments.
For a broader approach to restoring older beds, read our guide on how to refresh an old raised garden bed.
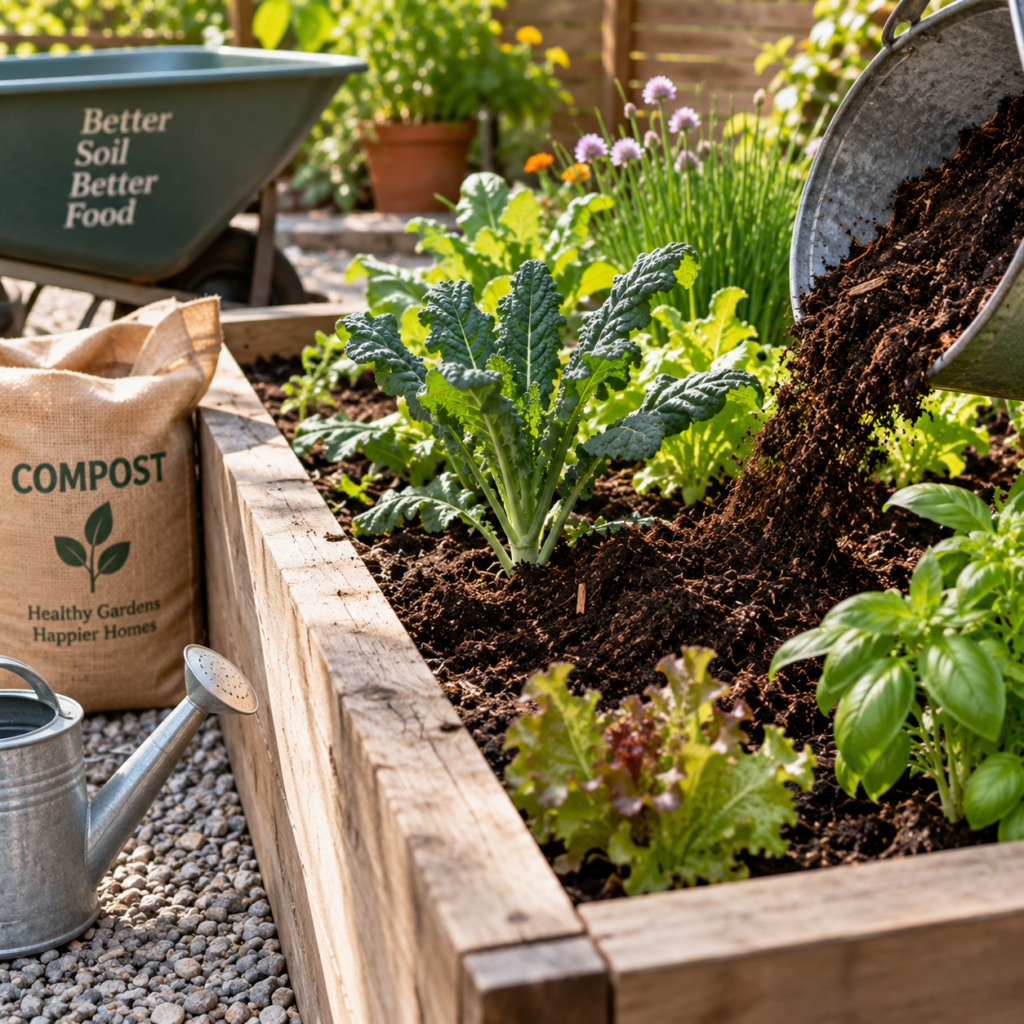
Adding compost to an established raised garden bed is usually straightforward.
Choose mature compost, apply a modest surface layer, avoid disturbing roots, and water gently afterward.
Remember that compost is one part of soil management, not a replacement for proper drainage, watering, and nutrient monitoring.
With careful maintenance, an established raised bed can remain productive without frequent soil replacement.
For more practical information about compost, soil improvement, drainage, and raised bed growing materials, explore our Soil & Compost guides.