Newsletter Subscribe
Enter your email address below and subscribe to our newsletter


Raised Bed Gardening Made Simple
Category: Garden Care
Suggested URL: /fill-raised-garden-bed-for-vegetables/
Primary Keyword: How to Fill a Raised Garden Bed
SEO Title: How to Fill a Raised Garden Bed for Healthy Plants
Meta Description: Learn how to fill a raised garden bed for vegetables, herbs, and flowers. Discover how to choose soil, improve fertility, manage moisture, and prepare your bed for planting.
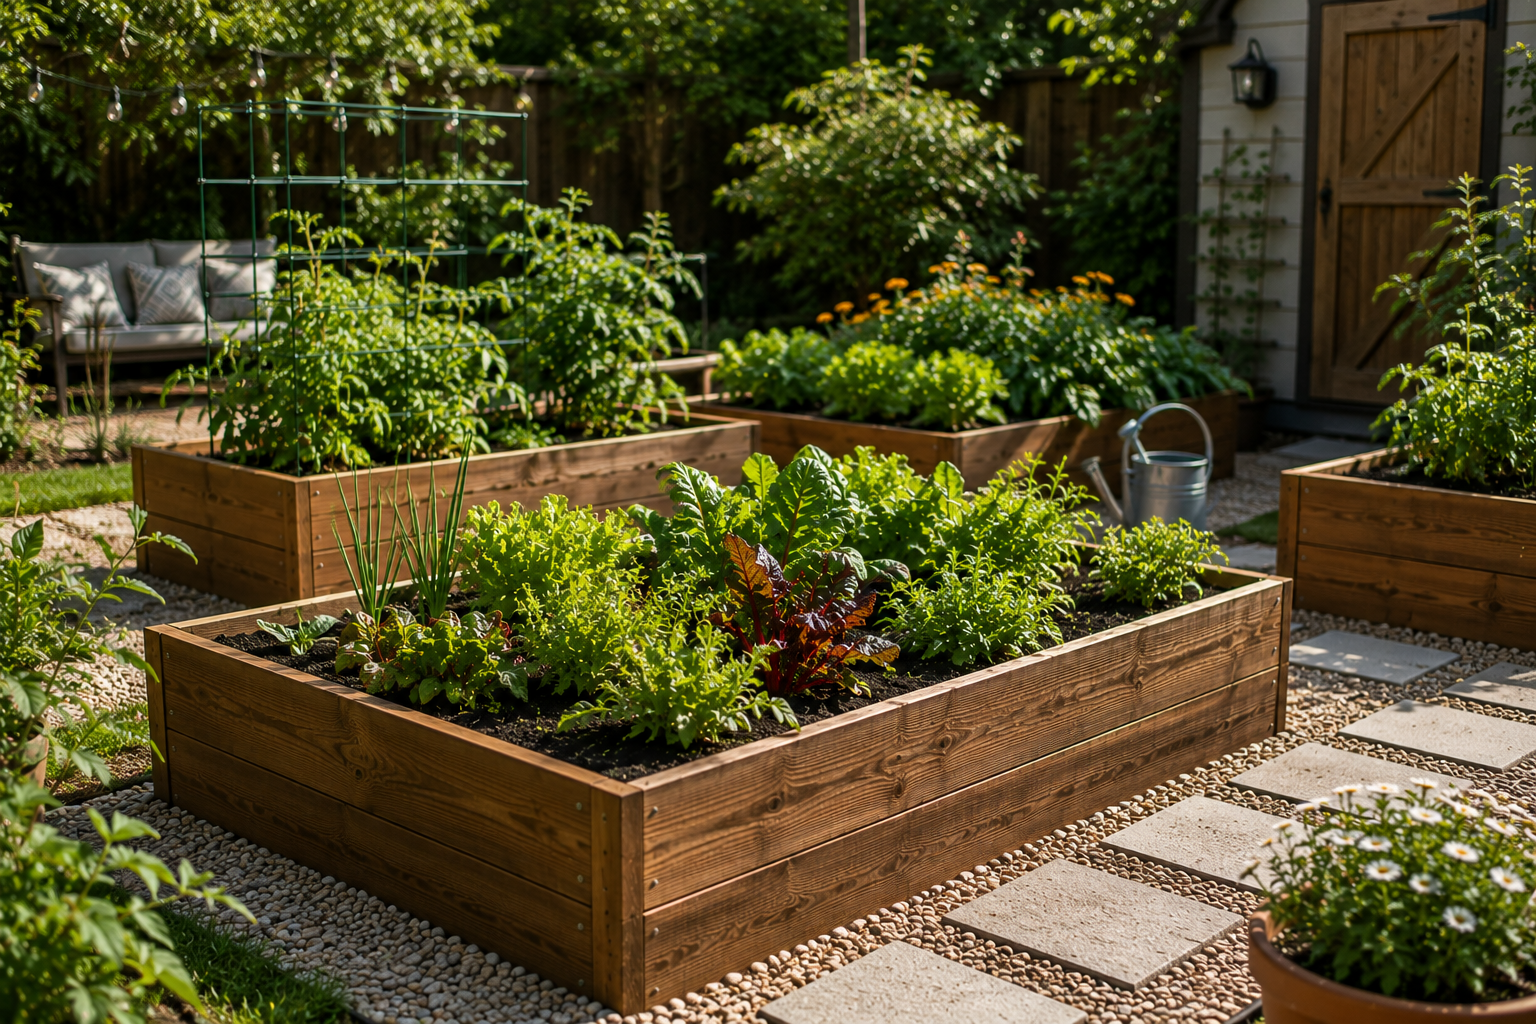
A raised garden bed gives you an opportunity that traditional in-ground gardening doesn’t always provide: you can create the growing environment almost from scratch.
Instead of accepting whatever soil already exists in your backyard, you decide what your vegetables will grow in.
That makes filling the bed one of the most important parts of setting up your garden.
The goal isn’t simply to make the container full. You want a growing medium that supports roots, manages water effectively, contains useful organic matter, and remains workable throughout the season.
Here’s how to approach the process.
Before ordering soil, think about the plants that will occupy the bed.
A salad garden has different demands from a bed filled with large tomato plants.
If you’re growing lettuce, spinach, radishes, and herbs, the root zone can be relatively modest. Tomatoes, peppers, eggplants, and other larger vegetables benefit from more available growing space.
Root vegetables deserve special consideration.
Carrots, parsnips, and similar crops perform best in soil without large stones or hard compacted sections that can interfere with root development.
Planning the crops first helps you avoid paying for a soil setup that doesn’t match your garden.
Gardeners often focus on fertilizer while overlooking physical soil structure.
A productive raised-bed medium should feel loose, crumbly, and easy to work.
Take a handful of slightly moist soil and squeeze it.
If it becomes a dense lump that remains tightly packed, it may be too heavy. If it immediately falls apart like dry sand, it may struggle to retain moisture.
Good garden soil usually sits somewhere between these extremes.
Roots need both moisture and oxygen, so the goal is to create small spaces throughout the soil where air and water can move.
Quality topsoil can provide the mineral portion of your raised-bed mix.
However, products sold under the name “topsoil” vary considerably. Some are dark and rich, while others contain large amounts of sand, clay, stones, or debris.
If possible, inspect bulk soil before purchasing it.
Look for material that is relatively clean, workable, and free from obvious contamination.
Don’t assume that darker soil is automatically better. Color alone doesn’t tell you whether the soil has good structure or suitable nutrient levels.
Organic matter helps transform ordinary soil into a more productive growing environment.
Finished compost is one of the easiest sources.
Compost can improve the soil’s ability to manage moisture while contributing organic material that supports soil organisms.
The important word is finished.
Well-finished compost should look dark and earthy rather than resembling recognizable food scraps or fresh plant waste.
Mix it through the growing zone rather than leaving a thick isolated layer.
This creates a more consistent environment for developing roots.
Water behaves differently in every soil mixture.
Before planting an entire bed, give the freshly filled soil a thorough watering.
Watch how quickly the water enters the surface.
If it immediately runs off or pools for a long time, the growing medium may need adjustment.
After watering, dig several inches below the surface.
The soil should feel evenly moist rather than containing extremely wet pockets next to completely dry areas.
This simple test can reveal problems before seedlings are added.
A common beginner mistake is filling a raised bed right to the upper edge.
That creates problems every time you water.
Soil, compost, and mulch can wash over the sides and onto pathways.
Instead, leave a small amount of space between the finished soil surface and the top of the frame.
This creates room for irrigation and for a future mulch layer.
It also makes the garden look cleaner throughout the growing season.
One advantage of a larger raised bed is that you don’t have to treat every square foot identically.
For example, the section intended for carrots can be carefully loosened and cleared of large debris.
Tomato planting areas can receive additional compost based on soil needs.
A corner dedicated to Mediterranean herbs may be managed differently from an area growing thirsty leafy vegetables.
Think of the bed as a collection of small growing zones rather than one uniform box.
More fertilizer does not automatically mean more vegetables.
Excess nutrients can create their own problems, and different plants have different requirements.
Start with a quality growing medium and mature compost.
Then pay attention to what you’re planting and, where appropriate, use soil testing to understand existing conditions.
This is especially useful if you plan to use the same raised beds for many years.
A targeted approach is generally better than repeatedly adding products without knowing what the soil needs.
Once your bed is prepared and moisture conditions look good, you can begin planting.
Avoid repeatedly walking or placing heavy objects on the soil.
One of the benefits of raised beds is that gardeners can work from the pathways without compacting the growing area.
Use your hands or small garden tools when transplanting seedlings.
After planting, water around the root zone to help the surrounding soil settle naturally.
Your job isn’t finished after planting day.
During the first several weeks, observe how the bed behaves.
Ask yourself:
These observations tell you more about your growing medium than its appearance on the day you filled the bed.
Make small adjustments rather than rebuilding everything.
A productive raised bed becomes an ongoing project.
After crops finish, remove diseased or unwanted plant material and examine the soil.
Instead of replacing everything, add organic matter when needed and prepare the surface for the next planting.
You can also rotate plant families between beds or sections of a larger bed.
Over time, you’ll learn how quickly your particular soil dries, how much organic matter it needs, and which vegetables perform best in each location.
Filling a raised garden bed isn’t about following one universal recipe.
A good approach begins with understanding what you’re growing and how your soil behaves.
Choose clean, workable soil, incorporate mature organic matter, check moisture movement before planting, and avoid unnecessary compaction.
Then continue observing the bed throughout the season.
The best raised-bed soil is not necessarily the most expensive mixture you can buy. It’s a growing medium that provides roots with the right balance of water, air, nutrients, and physical space.
Build that foundation carefully, and your raised garden bed will be ready for everything from leafy spring vegetables to summer tomatoes and fall root crops.