Newsletter Subscribe
Enter your email address below and subscribe to our newsletter


Raised Bed Gardening Made Simple
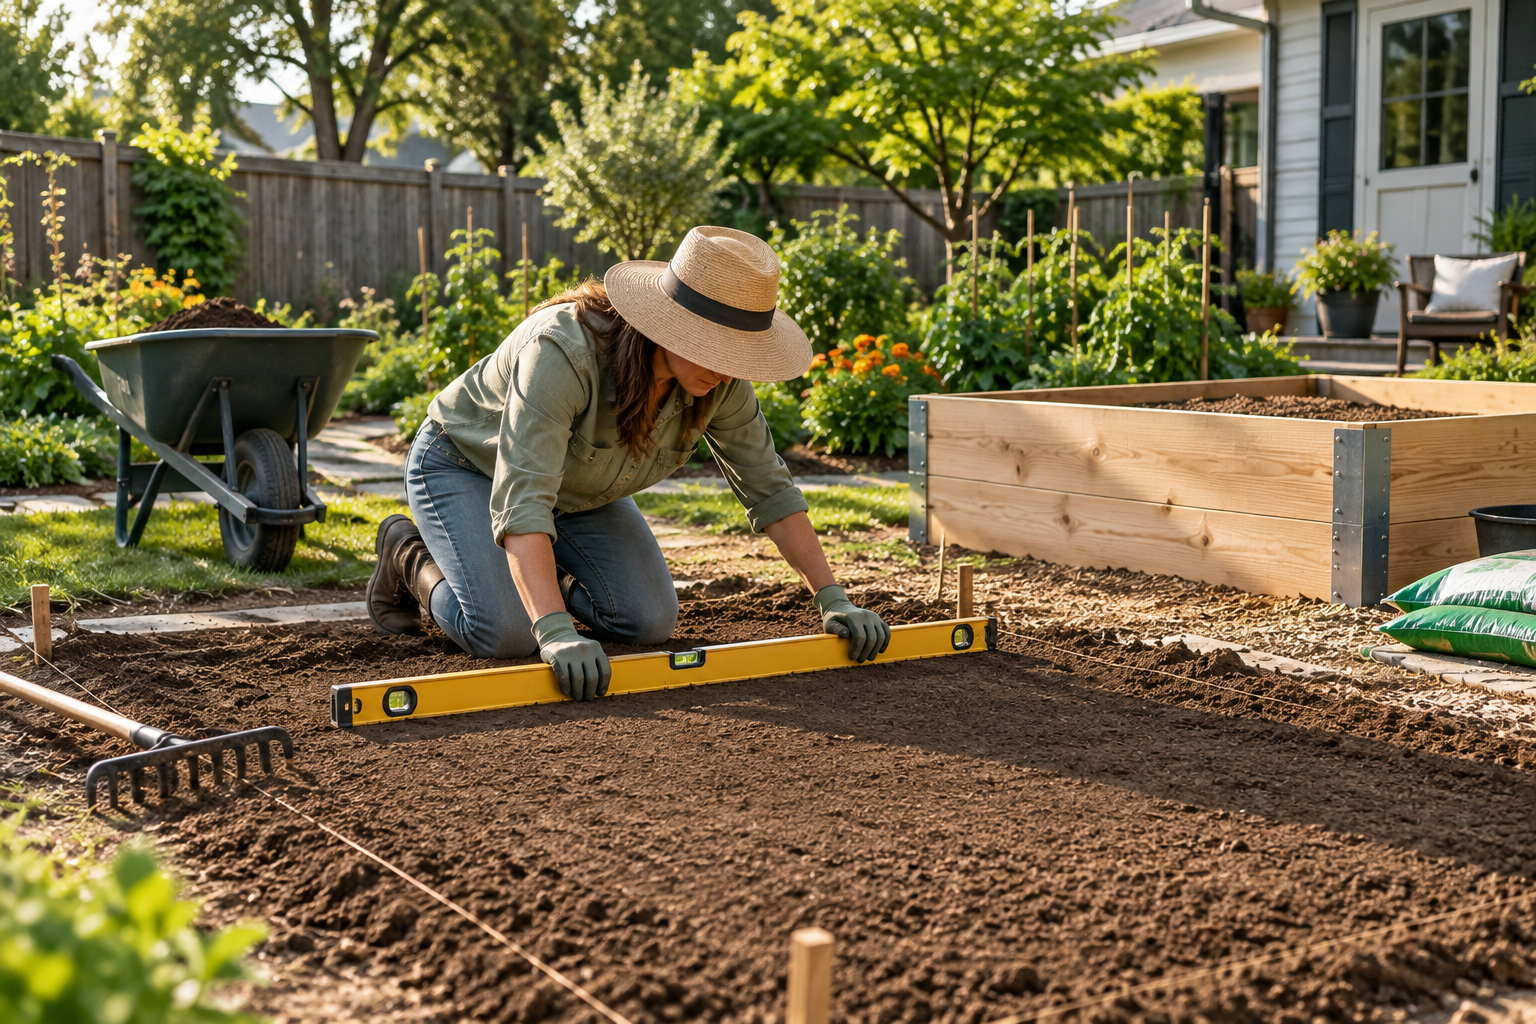
A raised garden bed may look simple to install, but the condition of the ground underneath it can affect drainage, soil depth, structural stability, and even watering. If a bed is placed on noticeably uneven ground, water may collect toward one end, soil can settle unevenly, and taller beds may gradually shift.
The good news is that you do not need perfectly level ground. The goal is to create a stable, reasonably level base before filling the bed with soil. This guide explains how to level ground for a raised garden bed on grass or bare soil and when a slight slope is acceptable.
A small difference in elevation may not cause problems, especially with a low wooden or metal bed. However, a significant slope can create several issues.
Water naturally moves toward the lowest point. In an uneven raised bed, one side may stay wetter while the higher side dries more quickly. Soil can also gradually move downhill after repeated watering and heavy rain.
Leveling is particularly important for tall raised beds because the weight of wet soil places considerable pressure on the frame. A stable base helps keep the structure square and reduces unnecessary stress on joints and panels.
Perfect precision is unnecessary for most backyard beds. What matters is eliminating obvious high and low areas and making sure the frame sits firmly without rocking.
| Ground Condition | Preparation Needed | Recommended Approach |
|---|---|---|
| Nearly flat lawn | Minimal | Remove vegetation and check with a level |
| Slight slope | Moderate | Remove soil from the high side |
| Uneven or bumpy soil | Moderate | Rake and redistribute topsoil |
| Steeper slope | Significant | Cut into the slope and create a level terrace |
| Soft or recently disturbed soil | Moderate | Compact lightly before installation |
| Poorly drained ground | Additional work | Improve drainage before placing the bed |
For a slight slope, it is usually better to remove soil from the high side rather than adding large amounts of loose soil beneath the low side. Undisturbed soil generally provides a more stable foundation.
Before leveling anything, make sure the location itself is suitable.
Most vegetables perform best with several hours of direct sunlight each day. The area should also be accessible for watering and leave enough room to walk around the bed.
Avoid choosing a low spot where rainwater already collects. Leveling the frame will not solve an underlying drainage problem.
Place the empty raised bed temporarily in its intended position. This gives you a clear outline of the area that actually needs preparation.
For a bed installed over lawn, cut the grass as short as possible and remove thick turf, especially underneath the frame.
Use a flat shovel or garden spade to cut around the perimeter. Removing sod also makes it easier to see small changes in ground elevation.
For shallow beds, removing grass is especially useful because aggressive lawn grasses can potentially grow upward into the bed.
You can later place plain, non-glossy cardboard over the soil surface to suppress remaining vegetation before adding your growing medium.
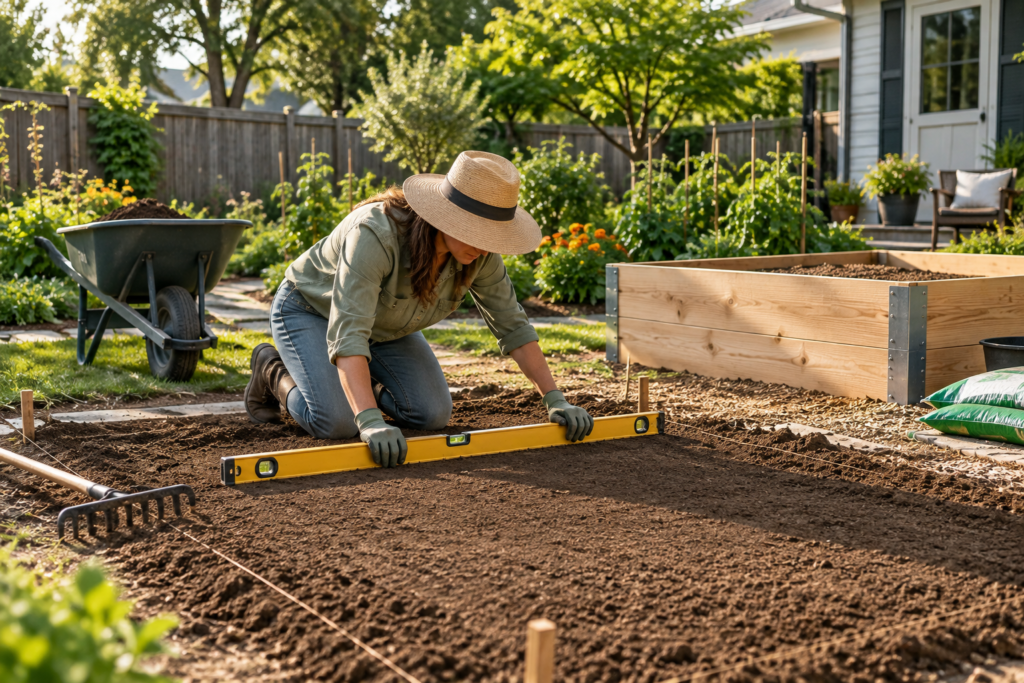
Place a long, straight board across the prepared area and put a carpenter’s level on top.
Check:
A longer board provides a more useful reading than checking several tiny sections independently.
If one end is consistently higher, mark it. This is the soil you will gradually remove.
Use a shovel to scrape away small amounts of soil from the highest points.
Work gradually.
After removing a little soil, rake the surface and check it again with the board and level. It is easier to remove another half-inch of soil than to correct an area that has been excavated too deeply.
For a modest slope, creating a shallow cut into the high side usually produces a firmer base than building up the opposite side with loose fill.
Once the major high points are gone, use a garden rake to smooth smaller bumps and depressions.
The ground should be firm rather than heavily compacted.
You are trying to create a stable surface for the frame, not compress the soil into a hard layer that prevents water movement.
Walk lightly over disturbed areas or use a hand tamper gently where necessary. If you have added soil, allow for some settlement before making your final level check.
Place the empty frame onto the prepared ground.
Check the top edges with your carpenter’s level.
Also test the bed physically. Push gently on each corner. The frame should sit firmly without rocking.
If one corner floats above the ground, remove the bed and correct the ground beneath it rather than forcing the frame downward.
For metal beds, make sure the panels are not being twisted to compensate for an uneven base.
A level bed does not mean water should be trapped inside it.
For an open-bottom raised bed installed over soil, excess water should be able to move downward into the native ground. Good soil structure and appropriate growing media are therefore just as important as leveling.
If the native ground is extremely compacted, loosen the upper layer before filling the bed.
Avoid putting an impermeable plastic sheet across the entire bottom unless the bed has been specifically engineered with another drainage system. Blocking downward drainage can create saturated soil after heavy rain.

Usually, gravel is not required simply to make a raised bed level.
A thin layer of compactable material may make sense in certain installations, particularly around paths or hard-landscape areas, but filling low spots with loose gravel does not automatically improve growing-bed drainage.
For a normal open-bottom bed over soil, preparing the native ground and using a well-draining soil mix is generally more important.
A noticeable slope requires more planning.
Instead of trying to raise the downhill side with a deep pile of loose soil, cut into the uphill side to create a small terrace. On steeper slopes, retaining structures or professionally designed terracing may be necessary.
Do not undermine nearby retaining walls, fences, foundations, or buried utilities while excavating.
If the site has significant erosion or drainage problems, consider choosing another location.
One common mistake is trying to compensate for uneven ground after the raised bed has already been filled. Hundreds of pounds of moist soil make adjustments much harder.
Another is relying only on visual judgment. A yard can appear flat while still having enough slope to create uneven soil depth.
Finally, avoid obsessing over perfect precision. Raised beds are garden structures, not building foundations. The practical goal is stable support, relatively even soil depth, and predictable drainage.
The best time to level the ground is before any soil enters the raised bed.
Start by removing vegetation, identify high and low areas with a straight board and level, gradually remove soil from high spots, rake the surface, and test the empty frame before filling it.
A properly prepared base gives your raised bed better stability and makes watering and soil management easier throughout the growing season. For most backyard gardens, a careful initial setup takes relatively little time and can prevent much more frustrating corrections later.