Newsletter Subscribe
Enter your email address below and subscribe to our newsletter


Raised Bed Gardening Made Simple
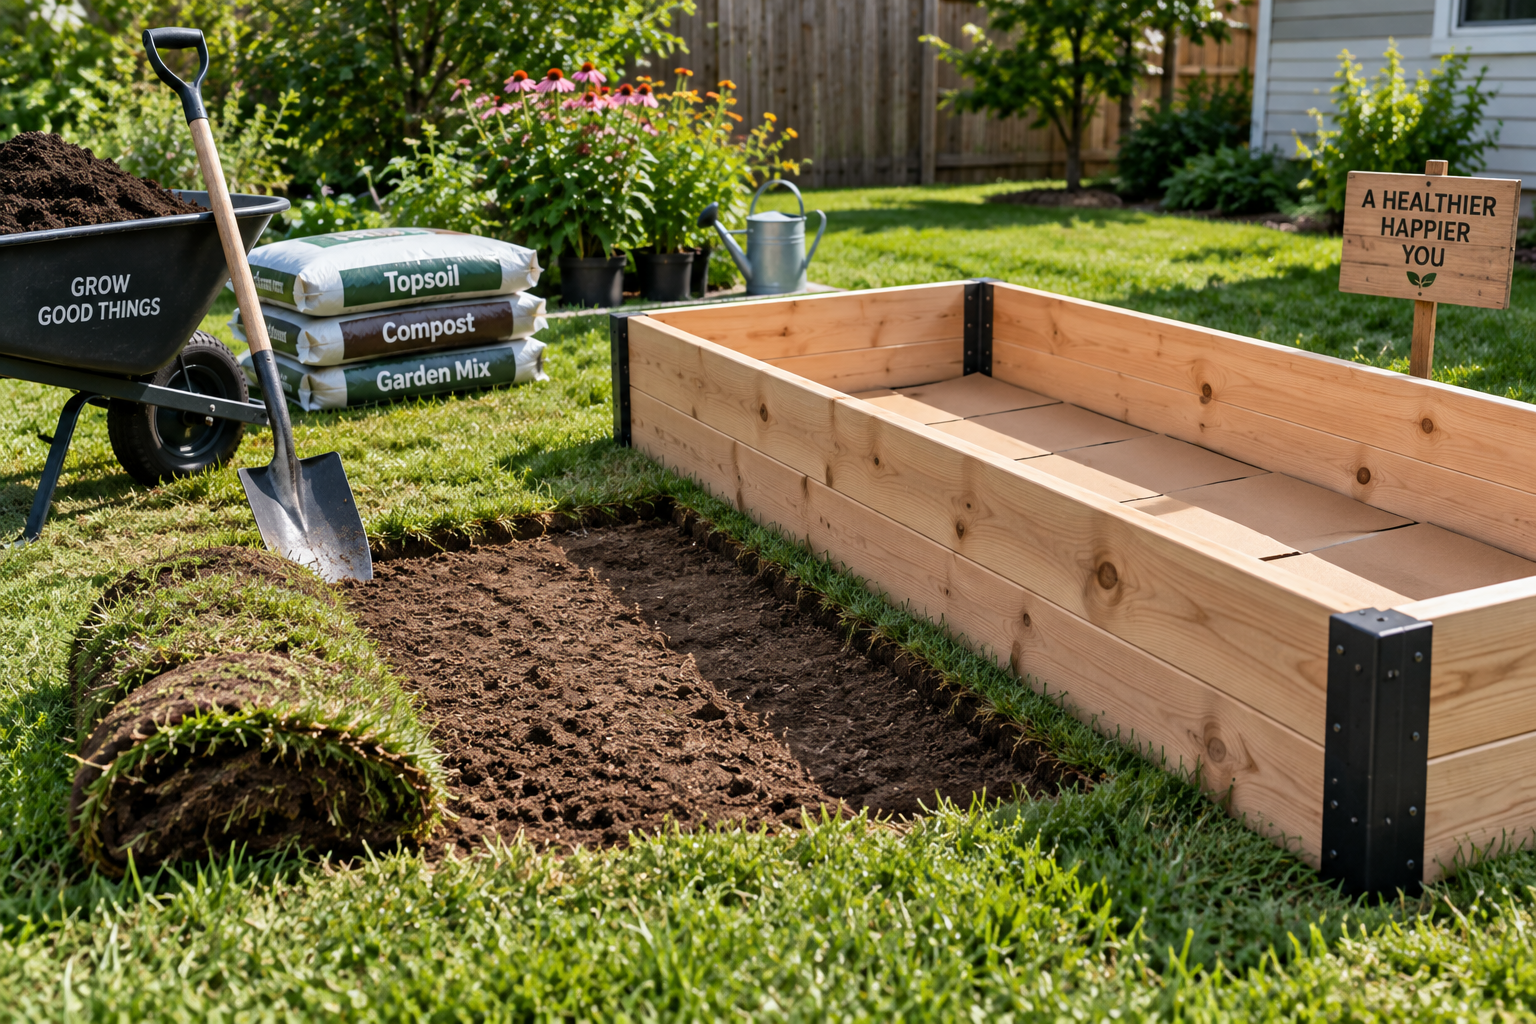
Turning part of a lawn into a productive vegetable garden does not necessarily require removing every inch of turf with a shovel.
A raised garden bed can be installed directly where grass currently grows, but simply placing a wooden frame over an untreated lawn and filling it with soil is not the best approach.
Existing grass may grow into the new soil, persistent weeds can survive underneath, and compacted lawn soil may limit drainage and root growth.
Utah State University Extension specifically recommends killing turfgrass before installing a raised bed where lawn previously grew. It also recommends loosening the native soil beneath shallower beds so vegetable roots can extend beyond the imported growing mix.
Here is a practical way to do it.
Start by deciding exactly where the raised bed will go.
For most vegetables, sunlight should be the first consideration. Utah State University Extension recommends approximately 6–8 hours of direct sunlight per day for maximum fruit and foliage production.
Also consider:
Avoid low areas where rainwater regularly collects.
Mark the dimensions using stakes and string, landscape paint, or even the unfilled bed frame.
You have several options.
For a conventional vegetable raised bed, removing or killing the grass before filling the bed provides the most predictable starting point.
You can cut the turf into sections with a flat shovel and remove it manually. This requires more labor but gives you immediate access to the native soil.
Another approach is to kill the grass before construction.
USU explicitly recommends making sure grass is killed before building where turfgrass previously grew.
Whichever method you choose, do not intentionally mix large quantities of living grass and roots into your new growing layer.
This question does not have a universal yes-or-no answer.
Oregon State University Extension recommends overlapping cardboard or several layers of newspaper in its sheet-mulching method. The material blocks light and helps smother grass and many weeds. OSU recommends wetting the cardboard thoroughly before covering it with additional organic material.
However, University of Minnesota Extension takes a different approach for conventional raised beds. It recommends killing the grass and aerating or turning the underlying soil, and notes that cardboard can temporarily interfere with water infiltration until it decomposes.
So choose the method according to your goal.
| Method | Best For | Main Advantage | Important Consideration |
|---|---|---|---|
| Remove sod manually | Conventional vegetable bed | Immediate clean surface | Requires more physical work |
| Kill grass first | Standard raised beds | Keeps native soil accessible | Requires advance preparation |
| Cardboard sheet mulch | No-dig/lasagna-style beds | Suppresses ordinary grass | Can temporarily slow water movement |
| Loosen soil after turf removal | Shallow/open-bottom beds | Improves root access | Avoid working saturated soil |
| Remove persistent weeds manually | Sites with aggressive perennial weeds | Reduces future regrowth | May require repeated inspection |
The key is understanding that sheet mulching and conventional soil preparation are different systems, rather than assuming cardboard is mandatory under every raised bed.
Ordinary lawn grass is relatively manageable.
Aggressive perennial weeds are different.
If the area contains bindweed, quackgrass, blackberry, or other persistent weeds with spreading underground structures, remove as much of the root system as practical before construction.
OSU warns that sheet mulching may not successfully smother certain persistent weeds, including bindweed and quackgrass.
Do not assume that adding 12 inches of soil will permanently solve an established perennial weed problem.
This is one of the most valuable steps, especially for a shallow raised bed.
Once the grass is dealt with, use a garden fork or broadfork to loosen compacted soil underneath.
You do not necessarily need to completely turn the entire area.
OSU’s sheet-mulching guidance recommends loosening the underlying soil to improve drainage, while USU recommends tilling or loosening approximately 6–12 inches beneath raised beds shallower than 12 inches.
This creates a transition between your raised-bed mix and the native ground.
It also allows vegetable roots to grow beyond the frame.
Place your wooden, metal, composite, stone, or other suitable frame over the prepared site.
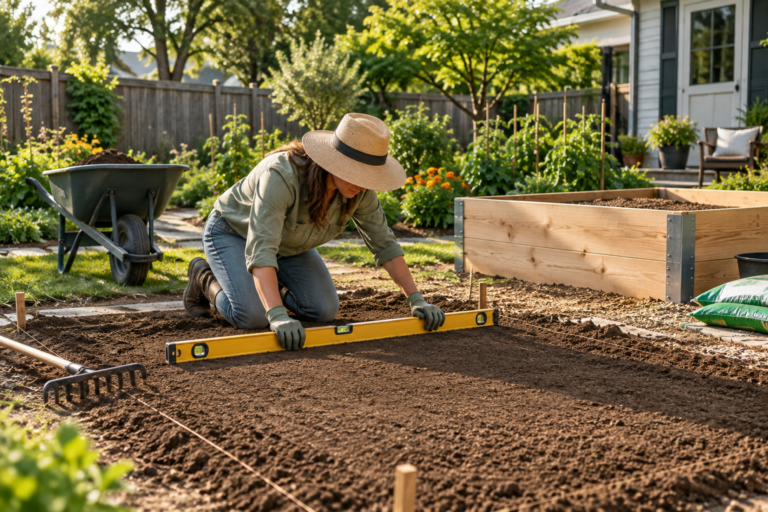
Check it with a level.
This step matters more than it might seem.
A significantly uneven frame can result in uneven soil depth and may cause irrigation or heavy rainfall to concentrate toward one side.
Remove small amounts of soil from high spots rather than simply piling material underneath unstable corners.
Once the frame sits securely, check that the corners are square and fasteners are tight.
A raised garden bed placed over healthy ground generally does not need a solid bottom.
University of Minnesota Extension states that, in most situations, a barrier between raised-bed soil and the native soil is unnecessary and may restrict root development.
An open bottom allows:
Roots to extend deeper.
Tomatoes and other vegetables are not limited entirely to the height of the frame.
Water to drain.
Excess irrigation can move into the native soil.
Soil biology to interact.
The raised-bed soil remains connected to the ground beneath it.
If burrowing rodents are a serious local problem, hardware cloth can be considered at the bottom. Minnesota Extension specifically mentions hardware cloth as an option for reducing tunneling by mice and chipmunks.
Do not simply dig soil from another part of the lawn and fill the entire bed with it.
Raised-bed soil needs enough structure to retain moisture while still allowing excess water and air to move through it.
USU recommends compost-enriched topsoil or an appropriate growing mix and notes that incorporating organic matter can improve aeration, drainage, nutrient availability, and water-holding capacity.
University of Minnesota Extension suggests roughly one-half to two-thirds topsoil and one-third to one-half plant-based compost for raised beds.
Avoid filling a normal vegetable bed entirely with compost.
After filling, water the soil and allow it to settle. Add additional mix if the level drops substantially.
Once filled, you should be able to reach the vegetables without stepping into the bed.
USU recommends approximately 3–4 feet wide for beds accessible from both sides.
Why does this matter?
Walking on raised-bed soil defeats one of the main advantages of the design: reduced compaction.
If the bed is positioned against a fence and can only be reached from one side, make it narrower.
Design around your actual reach rather than copying a standard dimension.
Grass around the exterior can eventually become another maintenance problem.
Turf can grow against the frame, making mowing difficult and potentially creeping toward the bed.
Consider creating a narrow maintenance zone or pathway around the raised bed.
Possible surfaces include:
USU recommends mulching pathways with materials such as bark or straw to reduce weeds and mud.
If the surrounding area will remain lawn, leave enough clearance to operate your mower or trimmer comfortably.
It is much easier to arrange irrigation before vegetables fill the bed.
Drip tubing or a soaker hose can deliver water directly to the growing area without repeatedly wetting pathways.
USU identifies drip or trickle irrigation as an efficient method for raised beds.
After installation, water thoroughly and observe the bed.
Check whether water infiltrates evenly and whether any area remains excessively wet.
This is particularly useful when converting lawn because the native soil underneath may have been compacted by years of foot traffic or lawn maintenance.
Freshly filled soil often settles after its first thorough watering.
If possible, prepare the bed a little before planting.
Water it, observe the soil level, and top it up if necessary.
If you used a sheet-mulching or lasagna-style system containing substantial undecomposed organic material, expect more settlement over time. OSU notes that layered organic materials gradually decompose and reduce in volume.
For immediate vegetable planting, make sure there is sufficient finished growing soil around the root zone rather than planting directly into coarse, undecomposed material.
Learning how to build a raised garden bed on grass is not simply a matter of putting four boards on the lawn and pouring soil inside.
For a conventional raised bed, a reliable approach is to kill or remove the grass, deal with persistent perennial weeds, loosen compacted native soil, install an open-bottom frame, and fill it with an appropriate soil-and-compost mixture.
Cardboard can also be useful, particularly when deliberately using a sheet-mulching or lasagna-style method. However, it is not a requirement for every raised bed, and Extension guidance differs because cardboard can temporarily affect water movement before it decomposes.
The most important principle is to think beyond the visible frame.
A well-prepared raised bed should connect logically with the soil underneath, drain effectively, suppress unwanted grass, and provide enough loose rooting space for vegetables to establish successfully.